If this is the first time you purchase an office chair, don’t miss this article. FittingChairs would like to share with you how to assemble an office chair. Let’s get started!
Is it hard to assemble an office chair?
Assembling an office chair is not a difficult thing to do. Even if it’s your first time, you can complete this task using a couple of tools.
Normally, the chair will come with an assembly instruction. So just be patient and follow what they say in the instruction, and you can easily do it.
Keep reading to know how to assemble an office chair.

Required materials for office chair assembly
Office chairs often come with the required tools that you need for chair assembly.
But it would be great to know what tools you might need to get started before knowing how to assemble an office chair.
Here are some of the tools that you’ll be needing during the assembly process:
- Allen wrench/Hex key: You’ll require an Allen wrench to tighten the screws into place.
- Philips-head screwdriver: You can conduct the process with just an Allen wrench, but it would be a good idea to have a Phillips-head screwdriver.
- Screws: The screws required for assembling the chair should be included with the package.
- Hand drill: Having a hand drill will make the process much faster for you.
How to assemble office chair?
Follow these simple guidelines and tips for how to assemble an office chair to have the free experience.
Step 1: Preparing the right tools.
As mentioned above, for how to assemble an office chair, you always need to use the right tools.
This will make things a lot easier and will prevent damage.
Brand new office chairs will usually come with a tool kit. It will contain all the tools you need for assembly.
However, these tools are usually cheap and flimsy. They can get the job done, but not quite as well as your own set of tools.
The tools you will most likely need to assemble your new office chair include:
- A set of screwdrivers or Allen wrenches
- Power drill/screwdriver (optional)
- Safety gloves
- Rubber mallet (optional)
Step 2: Unpacking.
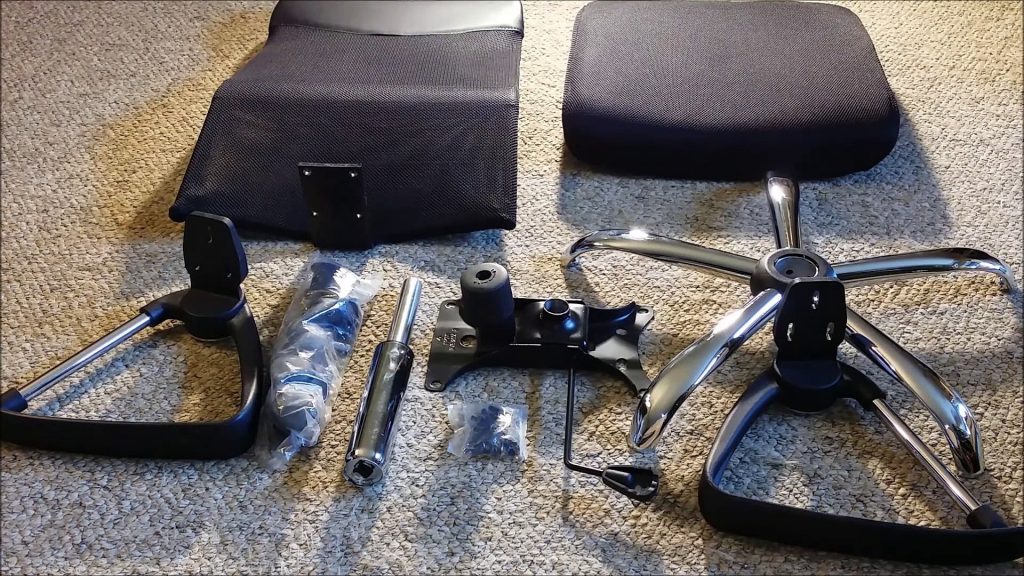
The next step on how to assemble an office chair is to open up the box and unpack everything inside.
Each chair part will likely be covered in some kind of wrapping to protect it from damage during shipping.
Remove all protective wrappings from each part so that the assembly process will be smooth.
Find a clean workspace so you don’t mix the parts with other things lying around your house.
You can check the manual for a complete checklist of all the items that should be in the box.
If there are any missing pieces, contact the store immediately.
Arrange everything into categories: large chair parts, bolts and small locks, and tools.
This will make your assembly process much smoother.
Step 3: Assembling the base.
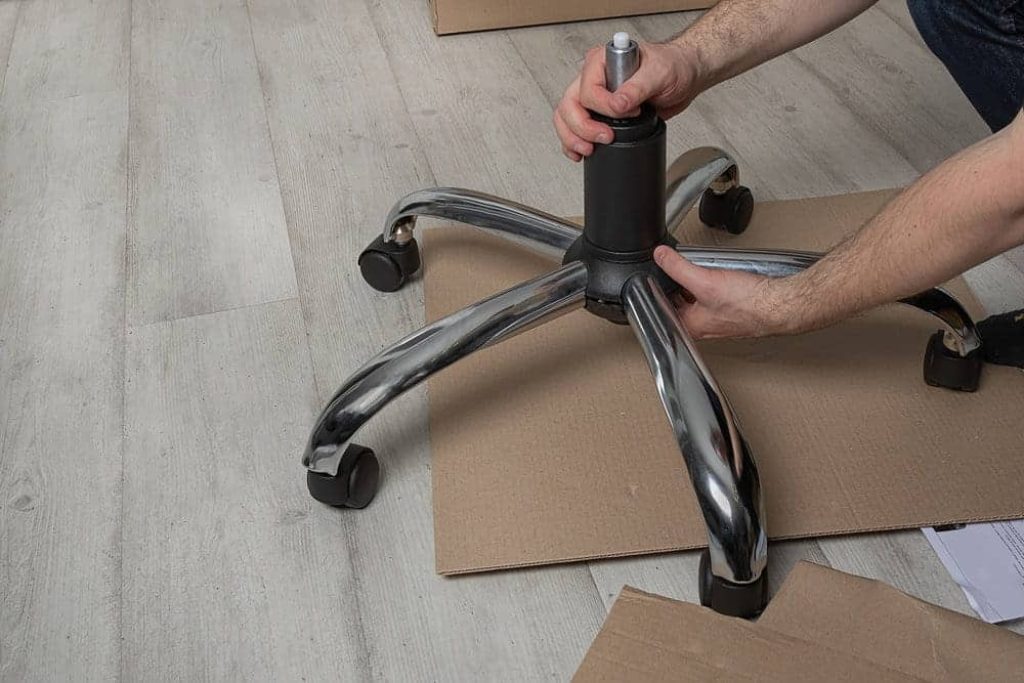
You can begin the process with the base.
Take the star-shaped wheelbase and flip it over.
Then take the casters and insert them into the sockets on the tips of the wheelbase.
Installing your casters can be done using only your hands.
If the casters won’t lock into place, you can use the rubber mallet to gently tap on it until it fits snugly in the socket.
Once all the casters are installed, flip the wheelbase into its correct orientation.
Now, take your gas lift and insert it into the hole at the center of the wheelbase.
Make sure you insert the correct end into the hole.
Most standard office chairs do not have any type of lock for the gas lift. They are simply fastened into place by the weight of the chair.
However, there are some office chairs that have a small pin under the gas lift. You can insert this using a screwdriver.
Step 4: Assembling the seat.
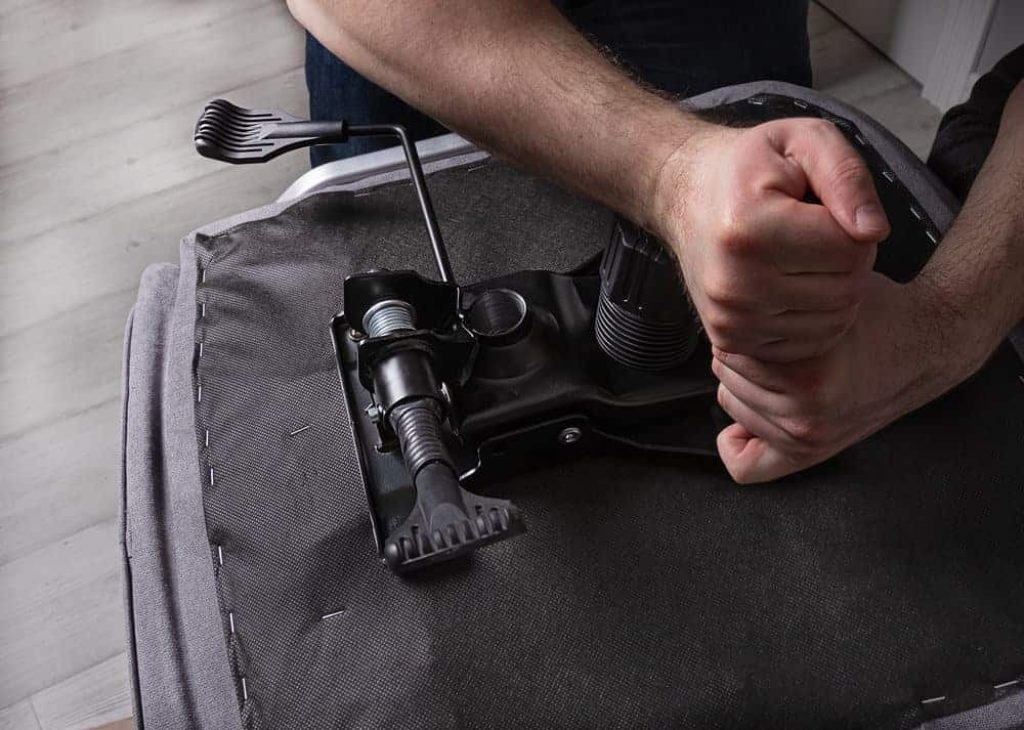
Take the main seat cushion and flip it over to expose the underside. Then take your chair mechanism and align the holes with those on your seat.
Insert the four bolts into the holes and tighten them with your fingers. Once all bolts are in, tighten them with your screwdriver or Allen wrench.
If your mechanism has a plastic protective cover, you can install this right after installing your mechanism. They’re usually fastened in place by four short screws.
Step 5: Assembling the armrests.
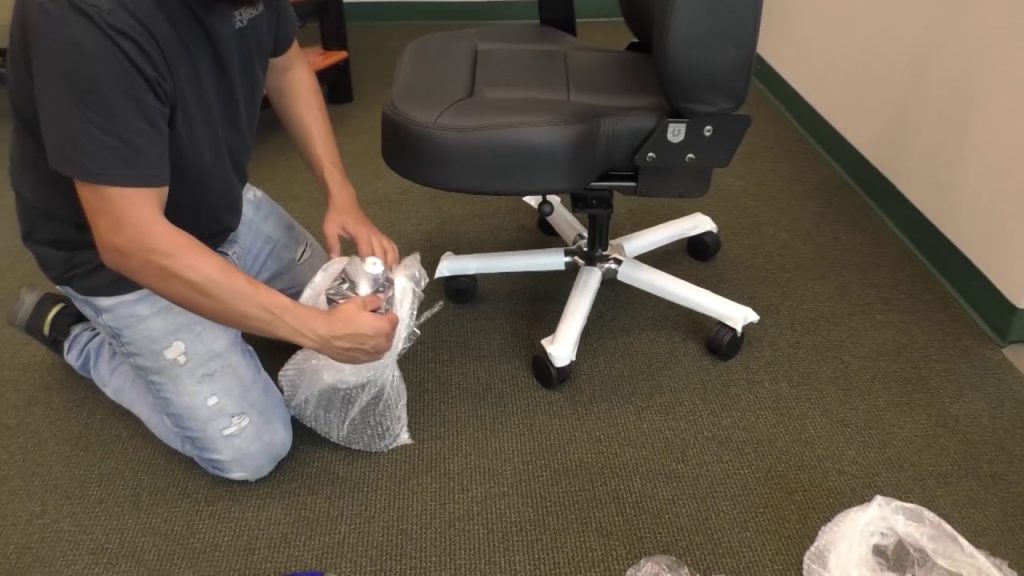
Smaller armrests are attached to your seat by only two bolts. Larger ones will usually have four bolts.
In some chair designs, the armrest not only attaches to the seat, but also to the backrest of the chair.
Always check your alignment before tightening any of your screws.
Step 6: Assembling the backrest.
The backrest is installed pretty much the same way the armrests are. Find the correct bolts and fasten them onto your backrest.
On some office chairs, you will need to lock the backrest between your armrests by little brackets. These can simply be pulled together by hand.
Step 7: Putting it all together.

After assembling the base and the seat, it is now time to put them both together.
Lift the seat and align the top of your gas lift with the hole under your seat’s mechanism.
Then press it down with your weight.
That’s it! And your body weight is what keeps the seat attached to the base of your chair.
Step 8: Troubleshooting and adjustments.
If your chair has an adjustable back, you can alter its height by loosening a screw on the back of the chair and sliding the back up or down.
You may also be able to adjust the width of your seating area by sliding the armrests in or out to a position that is most comfortable.
On chairs with an adjustable seat height, adjust the attached lever to raise or lower your entire chair to a level that is compatible with your desk.
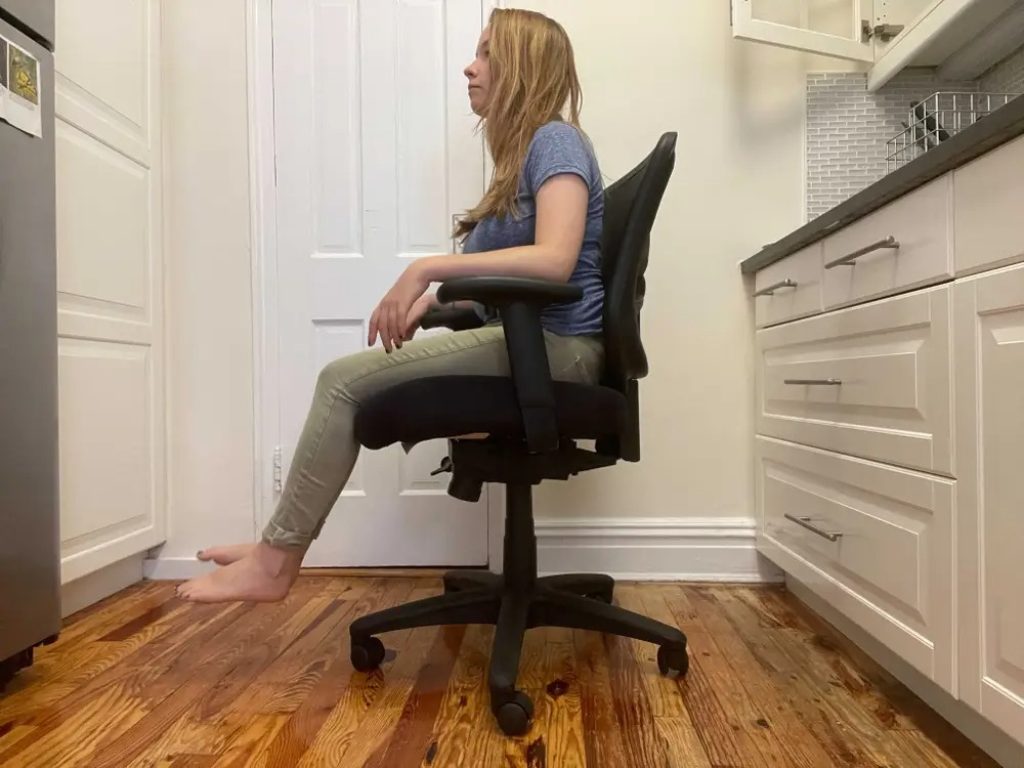
Step 9: Check your casters.
Make sure that the casters are fully inserted into the base. You can even apply a little bit of light oil, such as WD-40.
Also, don’t forget to clean debris that gets stuck around the wheel since it can restrict the movement too.
Is there any way to speed up the assembly?
The short answer is yes. Make sure that you have a lot of space available so you can organize the components properly.
Make sure that you have everything that you need for an office chairs assembling process.
You’ll find it hard to proceed with the process if you lack of any required tool. You may even have to head off to your DIY store in the middle of the process. And that wastes a lot of time.
Conclusion
We’re thrilled that you’ve read all the way to the end! Hopefully, this guide has helped to make assembling your new chair much easier.
The next time you order an office chair online, you no longer have to worry about assembling it when your package arrives.
See more:
- How to disassemble an office chair
- How to fix a wobbly office chair
- How to protect carpet from office chair
Don’t forget to come back to FittingChairs for more helpful guides.


